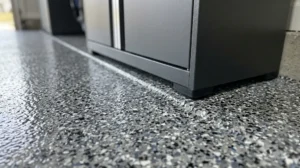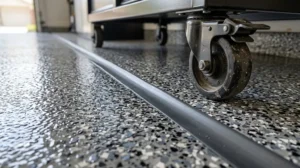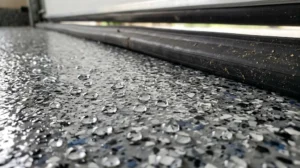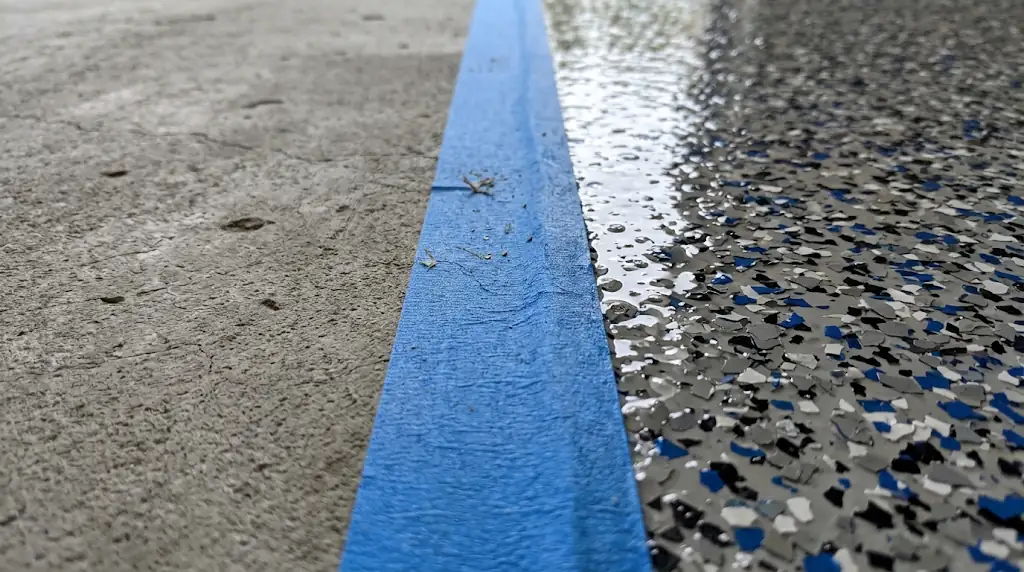
A professional garage epoxy floor installation in Central Texas takes 1 to 2 full days of on-site labor, followed by 24 to 48 hours of curing before vehicles can safely park on the surface. Factors like existing coating removal, concrete moisture levels, and whether you choose standard epoxy or rapid-curing polyaspartic coatings directly influence the final project timeline.
Standard Installation Timelines by Coating System
Different coating chemistries cure at different rates depending on chemical formulation, ambient humidity, and concrete temperature:
| Coating System | On-Site Labor Time | Walkable Cure Time | Vehicle Return Time | Total Project Downtime |
| 1-Day Rapid Polyaspartic System | 6–9 Hours (Single day) | 4–6 Hours | 24 Hours | ~1 Day |
| 2-Day Hybrid Flake System (Epoxy Base + Polyaspartic Topcoat) | 2 Consecutive Days | 12–24 Hours | 48 Hours | ~3–4 Days |
| Traditional 100% Solids Multi-Layer Epoxy | 2–3 Days | 24–48 Hours | 72–96 Hours | ~5–7 Days |
| DIY Box-Store Epoxy Paint | 2–3 Days (High labor effort) | 24–48 Hours | 7–10 Days | ~8–12 Days |
Step-by-Step Installation Schedule: The 2-Day Hybrid System
The standard professional setup across Williamson and Travis counties is a multi-layer hybrid flake system: a deep-penetrating 100% solids epoxy base coat topped with a durable, UV-resistant polyaspartic clear coat.
Day 1: Surface Preparation and Base Application (4–6 Hours)
- Mechanical Diamond Grinding: Technicians use planetary diamond grinders connected to HEPA-filtered industrial dust extractors to open the concrete pores to a profile specified by the International Concrete Repair Institute (ICRI).
- Crack Chasing and Concrete Repair: Slabs are inspected for structural cracks, spalls, and pitted aggregate. Crews chase fractures with diamond angle grinders, vacuum out debris, and inject rapid-curing polyurea or structural epoxy compounds conforming to ASTM C881.
- Deep Cleaning and Edge Profiling: Technicians hand-grind the garage apron, corners, and vertical stem walls, followed by thorough vacuuming to eliminate any dust residue.
- Base Coat Application: Installers apply a 100% solids epoxy base coat (or specialized moisture vapor barrier primer).
- Full Flake Broadcast: Vinyl color flakes are immediately broadcast across the wet base coat to complete rejection, ensuring 100% coverage.
- Overnight Cure: The base coat cures overnight, bonding into the open concrete capillaries.
Day 2: Reclamation, Detailing, and Clear Topcoat (2–4 Hours)
- Flake Recovery and Scraping: Technicians sweep and vacuum up hundreds of pounds of excess decorative flakes. The surface is then scraped flat with flat steel recovery blades to remove sharp edges and create a uniform texture.
- Secondary HEPA Vacuuming: A thorough vacuum pass removes all fine micro-particles and stray chip debris.
- Polyaspartic Clear Topcoat Application: Installers squeegee and back-roll an industrial aliphatic polyaspartic clear coat across the entire floor, locking the vinyl flakes in place and sealing the system.
Central Texas Climate Factors That Impact Cure Times
Weather conditions in the Greater Austin area directly dictate coating cure speeds:
- Triple-Digit Summer Temperatures: Polyaspartic coatings cure via ambient humidity and temperature. When Austin garage temperatures exceed 100°F in July or August, topcoats cure significantly faster. Installers must work quickly to maintain uniform wet edges, but floors can often take foot traffic in as little as 4 hours.
- Winter Cold Snaps: Resins require temperatures above 50°F to cure properly. During cold snaps along the I-35 corridor, installation requires specialized low-temperature chemical curing agents, extending cure windows by 12 to 24 hours.
- High Humidity and Thunderstorms: Polyaspartics pull moisture from the air to polymerize. High humidity speeds up topcoat cure rates, but heavy rain blowing through an open garage door can cause blushing or clouding if water droplets land on an uncured base layer.
Variables That Add Time to an Epoxy Installation
A standard two-car garage without major defects moves quickly. However, several conditions can extend the timeline:
- Stripping Failed Previous Coatings (+2 to 4 Hours): Slabs coated with failing DIY paint, oil-based sealers, or mastic require aggressive removal using polycrystalline diamond (PCD) scrapers before primary grinding can begin.
- Extensive Soil Heave and Crack Stitching (+2 to 4 Hours): Foundations impacted by expansive Central Texas clay often exhibit wide, offset fractures. Installing carbon-fiber stitches and wide joint rebuilds adds prep time.
- High Sub-Slab Moisture Vapor (+1 Day): If slab moisture testing under ASTM F1869 reveals high moisture vapor emission rates (MVER), an additional deep-penetrating moisture mitigation primer must cure fully before applying decorative base layers.
- Vertical Stem Walls and Stairs (+1 to 2 Hours): Hand-coating concrete stem walls, perimeter curbs, or entry steps requires manual troweling, taping, and hand-broadcasting flakes.
Timelines Across Our Service Cities
Site requirements across the Austin metro area naturally influence the project schedule:
- Round Rock & Pflugerville: Established neighborhoods with slabs dating back to the 1990s and 2000s often have heavy automotive fluid stains. Degreasing and diamond profiling take longer, averaging a full 2-day timeline.
- Hutto: High sub-slab moisture readings from dense blackland prairie clay frequently require dedicated moisture barrier primers, making 2-day schedules the standard to ensure proper chemical bonding.
- Georgetown & Liberty Hill: Fast-growing new subdivisions feature clean concrete slabs that rarely require heavy degreasing. These floors can often be completed with 1-day polyaspartic systems.
- Cedar Park & Leander: Slabs with heavy hardener additives used by home builders require extra passes with low-grit metal diamonds to profile the substrate, adding 1 to 2 hours to Day 1 preparation.
Garage Return-to-Service Checklist
To protect your new floor while it reaches its full chemical hardness:
- Light Foot Traffic (24 Hours): Walking with clean, rubber-soled shoes is permitted 12 to 24 hours after topcoat application. Keep pets off the floor during this window.
- Light Storage Return (36–48 Hours): Move patio furniture, plastic bins, toolboxes, and workbenches back in place. Lift items instead of dragging them across the new floor.
- Vehicle Parking (48–72 Hours): Allow 48 hours for polyaspartic systems (or 72 hours for traditional epoxies) before driving passenger cars, pickup trucks, or motorcycles onto the floor.
Plan Your Floor Coating Project
A professional garage coating does not require weeks of disruption. With high-performance preparation equipment and rapid-curing topcoats, your garage can be transformed into a showroom in two days. Contact Round Rock Epoxy Flooring today through our contact page to check scheduling availability and book a prompt on-site estimate.